Seasons
Users must click the ”Add New Season” option to be redirected to another page.

On this page, they need to fill out a form specifying the duration of the season.
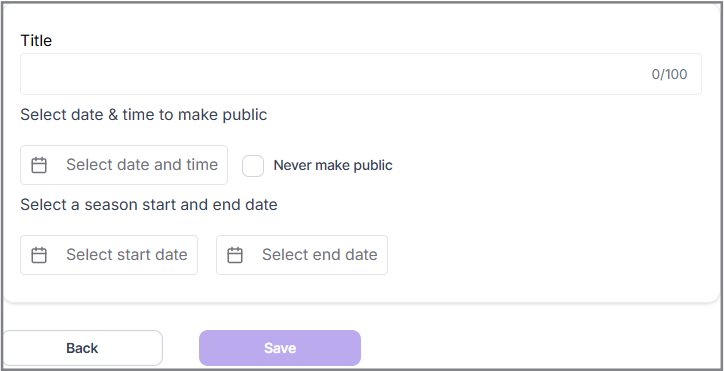
To set up the details of a new season, the user must follow these steps:
1. Provide the Title: Enter a title for the season, which will be displayed to the public.
2. Set the Activation Date and Time: Specify the date and time when the season should become active.
- The user can choose whether to make the activation date and time visible to the public by selecting the checkbox beside the option.
3. Define the Start and End Dates: Specify the start and end dates for the season's duration.
4. Save the Details: Click "Save" to proceed.
Edit Seasons
Info
Here, the User can edit the Season details and make changes to it after creating one.
Sponsors
To add a new sponsor, the User must click the ”Add New Sponsor” option.

Fill in Sponsor Details:
A new window will appear where the user must enter all necessary details about the new sponsor.
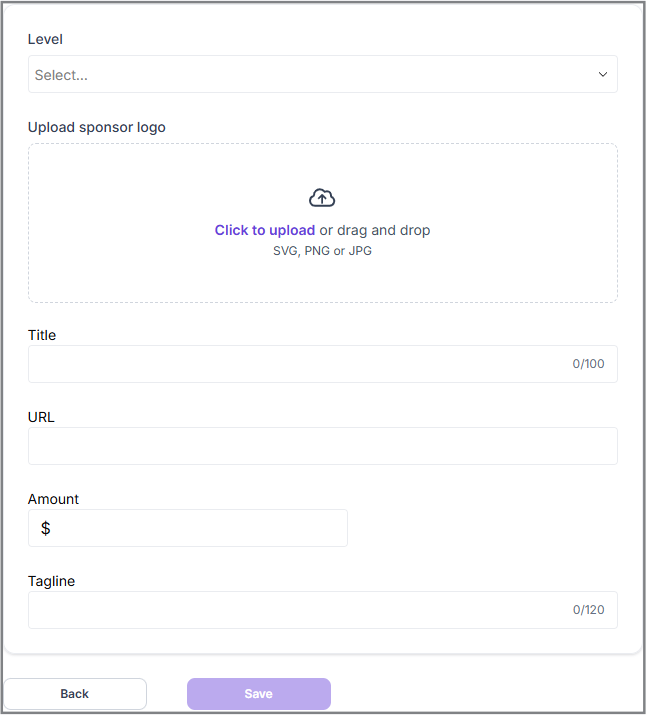
1. Level- Sponsors can have multiple levels, such as Gold, Silver, Platinum, Bronze, Partner, etc. These levels grant certain privileges based on their status.
2. Upload Sponsor Logo- The user must upload the sponsor's logo by clicking the "Click to upload" option. The user can browse their system for the logo files or drag and drop the logo image into the designated space.
![]()
3. Modify the Logo- The system will redirect the user to another window, allowing them to adjust the logo as needed. After making the changes, the user should click the "Done" button in the top-right corner of the page.
![]()
The above figure does not represent the actual size of the full page. It has been modified and reshaped for the user's convenience.
4. Title- The user must provide the name/title of the sponsor.
5. URL- URLs can include components like paths, queries, and fragments to direct users to specific content within a site.
6. Amount- The sponsorship amount will be displayed on the Sponsor's homepage once all details are completed. Therefore, the user must include the sponsorship amount along with other details.
7. Tagline- The user can also include the sponsor's value and tagline (e.g., Nike's "Just Do It").
Once all information is uploaded, the Sponsors Page homepage will display the sponsor details as shown below. If the user adds multiple sponsors, each sponsor will be displayed separately and distinctly.
The sponsor's value amount remains confidential and is never shown to the public. Only the title and photo upload fields are required, while the URL, amount, and tagline fields are optional.
Discount Codes
Users can create discount codes for various purposes within the product. By clicking on the discount codes option, they can manage all their codes in one place.
Once a discount code has been used, it cannot be deleted. Inactive codes can be viewed, disabled, edited, or deleted.
1. Add New Discount Code:
To start the process, the user should click on the "Add New Discount Code" option.
![]()
This will open a new window or form where they can enter the necessary details for the discount code.

2. Title:
The user needs to enter a title for the discount code. This title will help in identifying and managing the code within the system.
3. Code:
The user has two options for the discount code itself:
- They can click on the “Generate” option, which will automatically create a unique code.
- Alternatively, the user can manually input their own custom code if they have a specific one in mind.
4. Discount Amount:
The user should specify the amount or percentage that represents the value of the discount. This defines how much the discount will be worth when applied.
5. Number Issued:
The user can define how many times the discount code can be used. This is useful for limiting the availability of the discount to a certain number of uses. If the user leaves this field blank, the code will have unlimited uses.
6. Date Active:
The user can set the period during which the discount code will be active. This is done by specifying the start and end dates, such as from January 1st to January 10th. During this time, the code can be used to avail the discount.
7. Click on “Save”.
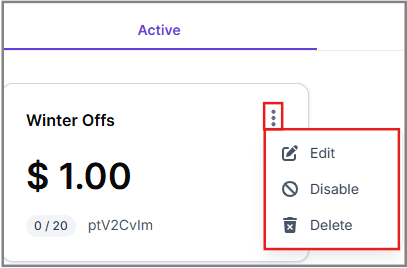
After saving the progress, the user can see a summary of the entries under active discounts that the user had made earlier. There are also other options regarding the generated discount code that the user will see after clicking the three dots. These options include:
- Edit- This option allows the user to edit all the details of the discount codes if he wishes to.
- Disable- This option disables the ongoing plan that the user has created.
- Delete- By clicking this option, the user will completely delete any discount codes that have been created.
These above steps ensure that the discount code is set up with all necessary details and can be effectively managed and utilized.
Registration settings
Registration Settings
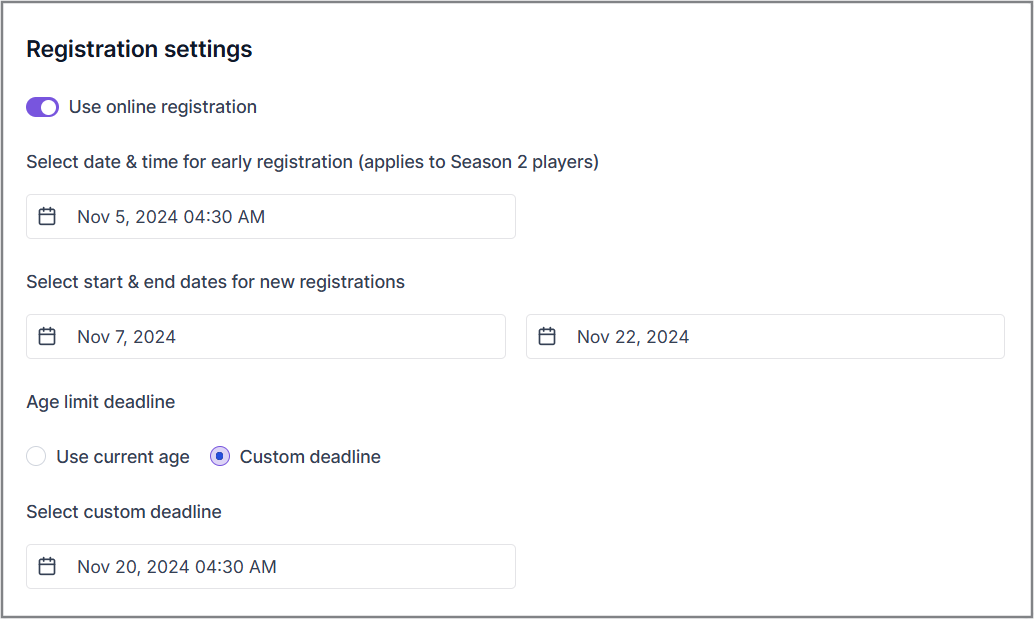
- Use Online Registration (Radio Button)- This radio button allows the user to enable or disable online registration.
- Select Date & Time for early registration (applies to Season 2 players)- A date picker that shows on a pop-up calendar allows users to set an age limit deadline using either the current age or a custom deadline.
- Select Start and End dates for new registrations
Age Limit deadline
An age limit deadline can be set using either the current age or a custom deadline with a date picker that shows on a pop-up calendar.
Select Custom deadline- By selecting the date and time the user will set an age limit for the participants.
Wait List Settings
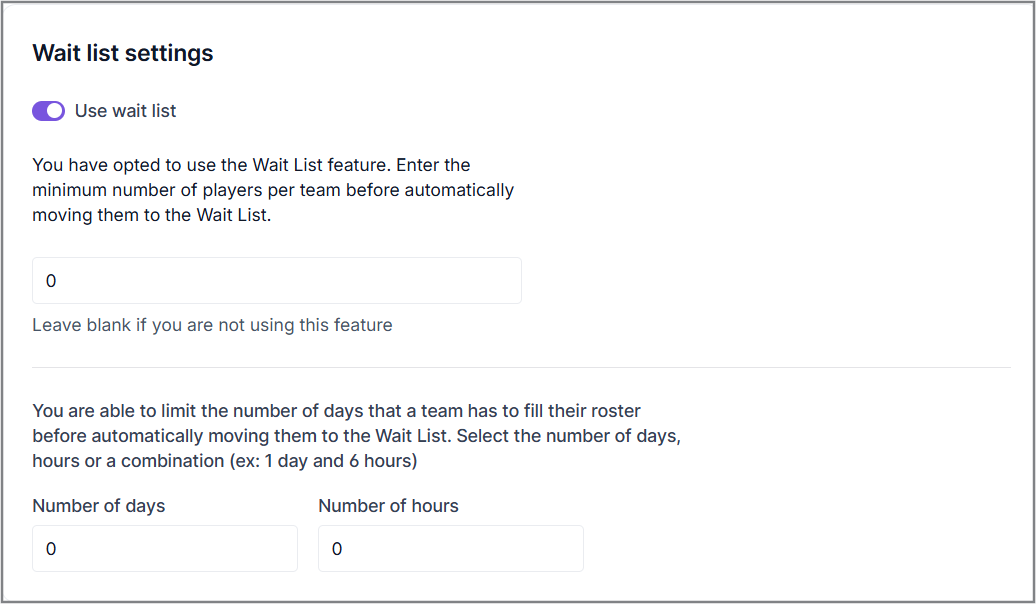
- Use Wait List (Radio Button)- An age limit deadline can be set using either the current age or a custom deadline with a date picker that shows on a pop-up calendar.
- The commissioner/manager can limit the number of days a team has to fill their roster before being moved to the Wait List, with options to select a number of days, hours, or a combination of both.
Teams
The User can allow players to register as a team or as free agents. If allowing for team registration, they need to specify if divisions will be required or not allowed. If required, the user will enter the maximum number of teams on the Season-Division edit page. If division selections are not allowed, they must enter the maximum number of teams below.
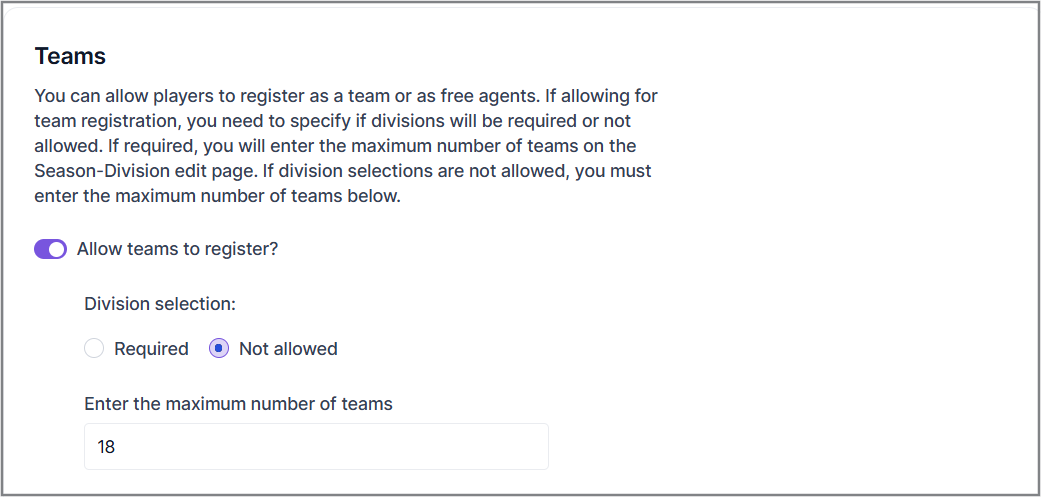
- Allow Teams to register (Radio Button) By turning this radio button On, the User will have to fill up additional details regarding the Division Selection.
- Division Selection can be set as "Required" or "Not Allowed," with the maximum number of teams editable in the Season-Divisions edit page.
Free Agents
- Allow Free Agents to register (Radio Buttons)

This radio button enables the user to decide whether to allow free agents to register for the season's tournaments.
Registration Cost
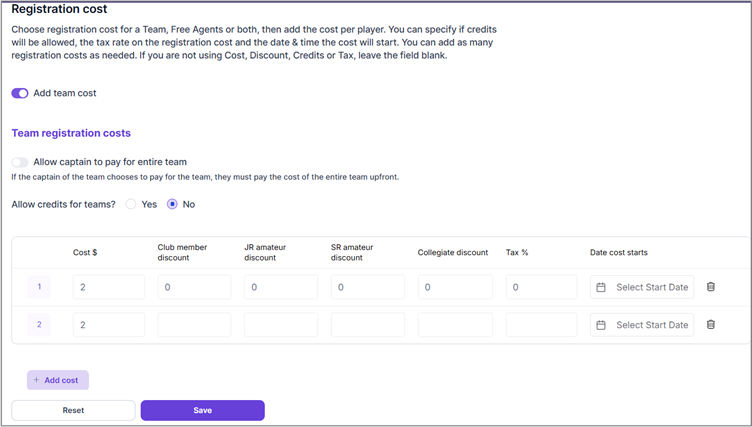
- Add Team Cost (Radio Button)
Registration Cost settings include the ability to add team cost by default, with an option to configure team costs in a visible table if the radio button is turned on.
The User can mention Costs for the following categories:
- The total cost in credits
- Club member discount
- Jr amateur discount
- Sr amateur discount
- Collegiate discount
The User can also add more credits by clicking on the “Add Cost” icon.
Team Registration Costs
- Allow Captain to play for entire team (Radio Button)
If the captain of the team chooses to pay for the team, they must pay the cost of the entire team upfront.
- Allow Credits for Team
Credits for Teams can be enabled or disabled, adding a row for Credits that act as a discount on the specified cost above. The use of Credits is still under consideration at the current time.
The user must click the ”Save” icon to save their progress.
Season Divisions
To create a new division, the user needs to follow these steps:
1. Click the "Add New Division" icon.

The user will be redirected to another window, where they will select the divisions to add to the 2025 Winter Season.

The displayed divisions have not yet been added to the 2024 Winter Season.
2. check the desired "Division" box in this window to add the displayed division to the season. 3. Click the "Save" button to save the progress.